Introducing the Baker's Toolkit..
Baking fundamentals + becoming an all-rounder

In my last letter, I talked to some length about how taking an unconventional route into baking and jumping ahead in the industry led to some gaps in my knowledge and abilities. I referred to a list that I wrote myself during my first kitchen job in London; a list of things that in my opinion, most aspiring bakers should be able to make. I don’t want to restrict this just to beginners, however, I probably would have found something like this helpful when I started out. Envision you’ve just been offered a place on this year’s Bake Off! Each week covers a different area, from biscuits to bread, cake to pastry, to more obscure themes like party week, Japanese week and ice cream week. I think Bake Off is a great way of measuring your abilities, and I don't mean against the contenders (comparison is the thief of joy after all). Each week is designed to test the bakers, highlight their strengths and weaknesses, and put their knowledge to the test. Even the most talented baker will have a week where they flop, but usually, the one who comes out on top will be an all-rounder, the one who can do a bit of everything.
Whether you are looking to progress onto a career in the professional world, widen your skillset at home, or just want to be able to whip up a show-stopping cake on a whim, these basics will provide you with a solid foundation and can be used across many recipes. I named this list, ‘The Baker’s Toolkit’.
Below are some recommended skills you should aim to master:
Jam and fruit curd (a foolproof jam recipe can be used in a variety of bakes)
Custard (a basic vanilla custard, and a crème patisserie or crème ‘pat’ for short)
Caramel
Buttercream (e.g. Swiss, French, Italian, etc)
Ganache (chocolate ganache can be used as a filling, dip, frosting, or layer in a cake)
Meringue (meringues can be used as decoration, for topping pies, making pavlova, and as a base for macarons)
Different types of cake (e.g. Genoise, Sponge cake, Chiffon, Flourless, Pound cake, etc)
Shortcrust pastry (learning a good pie crust is essential for many recipes)
Lamination (e.g. puff pastry or croissant dough; challenging and time-consuming, but a good step up if you have already mastered shortcrust)
A bake that has a setting element (e.g. a custard tart)
To gain an understanding of yeasted doughs and starters:
A basic pizza dough/flatbread
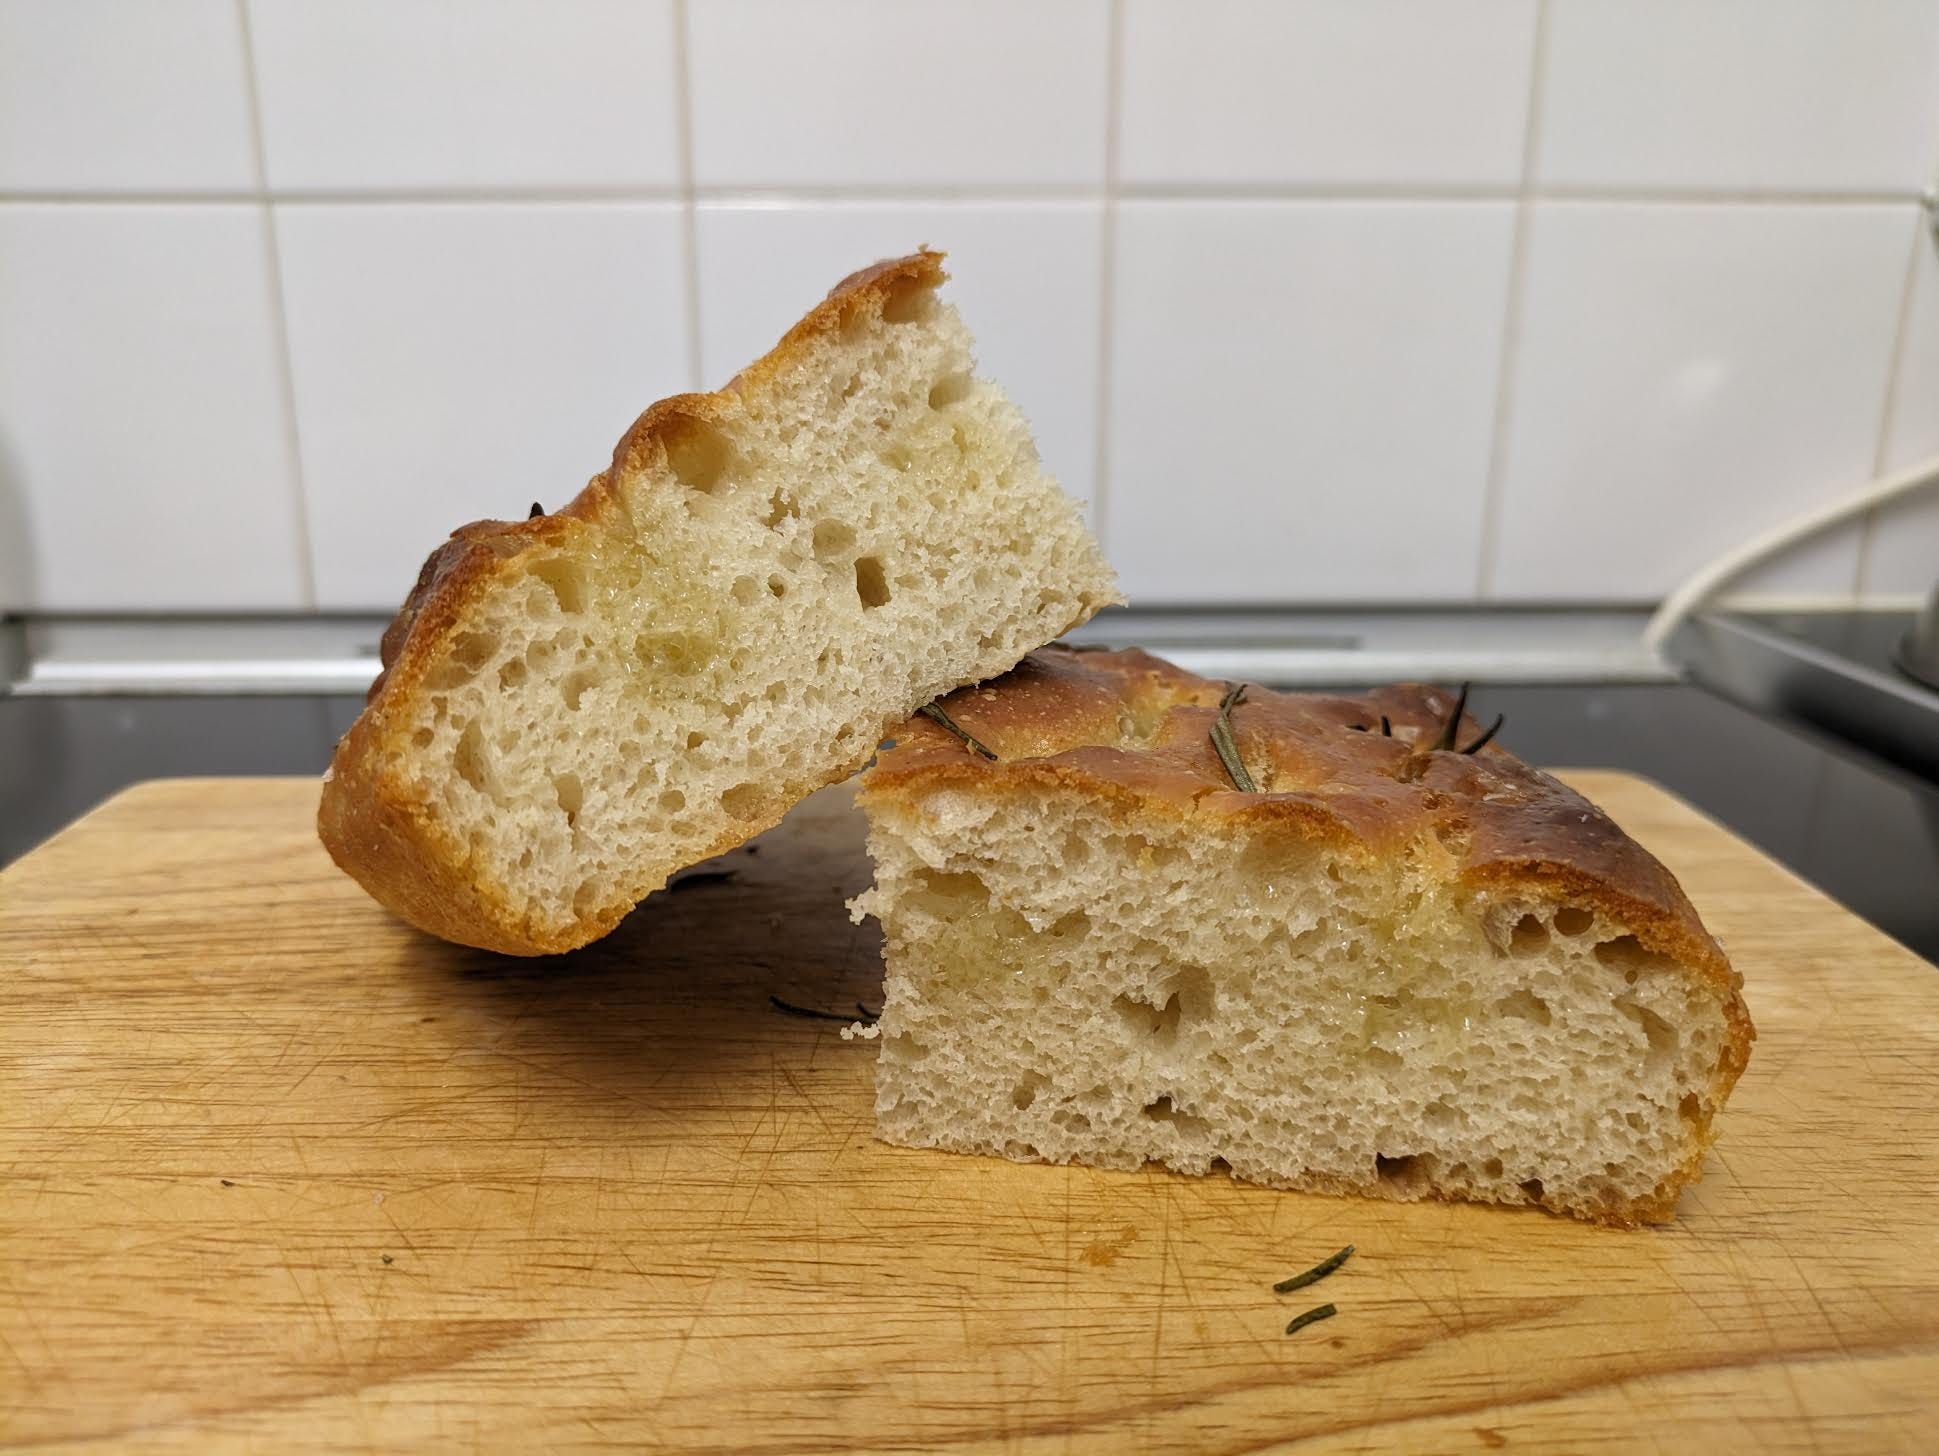
Focaccia (a forgiving dough and a good intro to higher hydration)
A white ‘sandwich’ loaf
Sourdough
A multigrain or rye bread (grains can be utilised in many recipes for flavour and texture)
Enriched doughs are yeasted doughs with the addition of butter, eggs and sugar. Some are shaped or rolled before baking and often filled with sweet ingredients such as chocolate, cinnamon or dried fruit. Therefore I recommend attempting the following:
A bake that requires braiding (e.g. babka or challah)
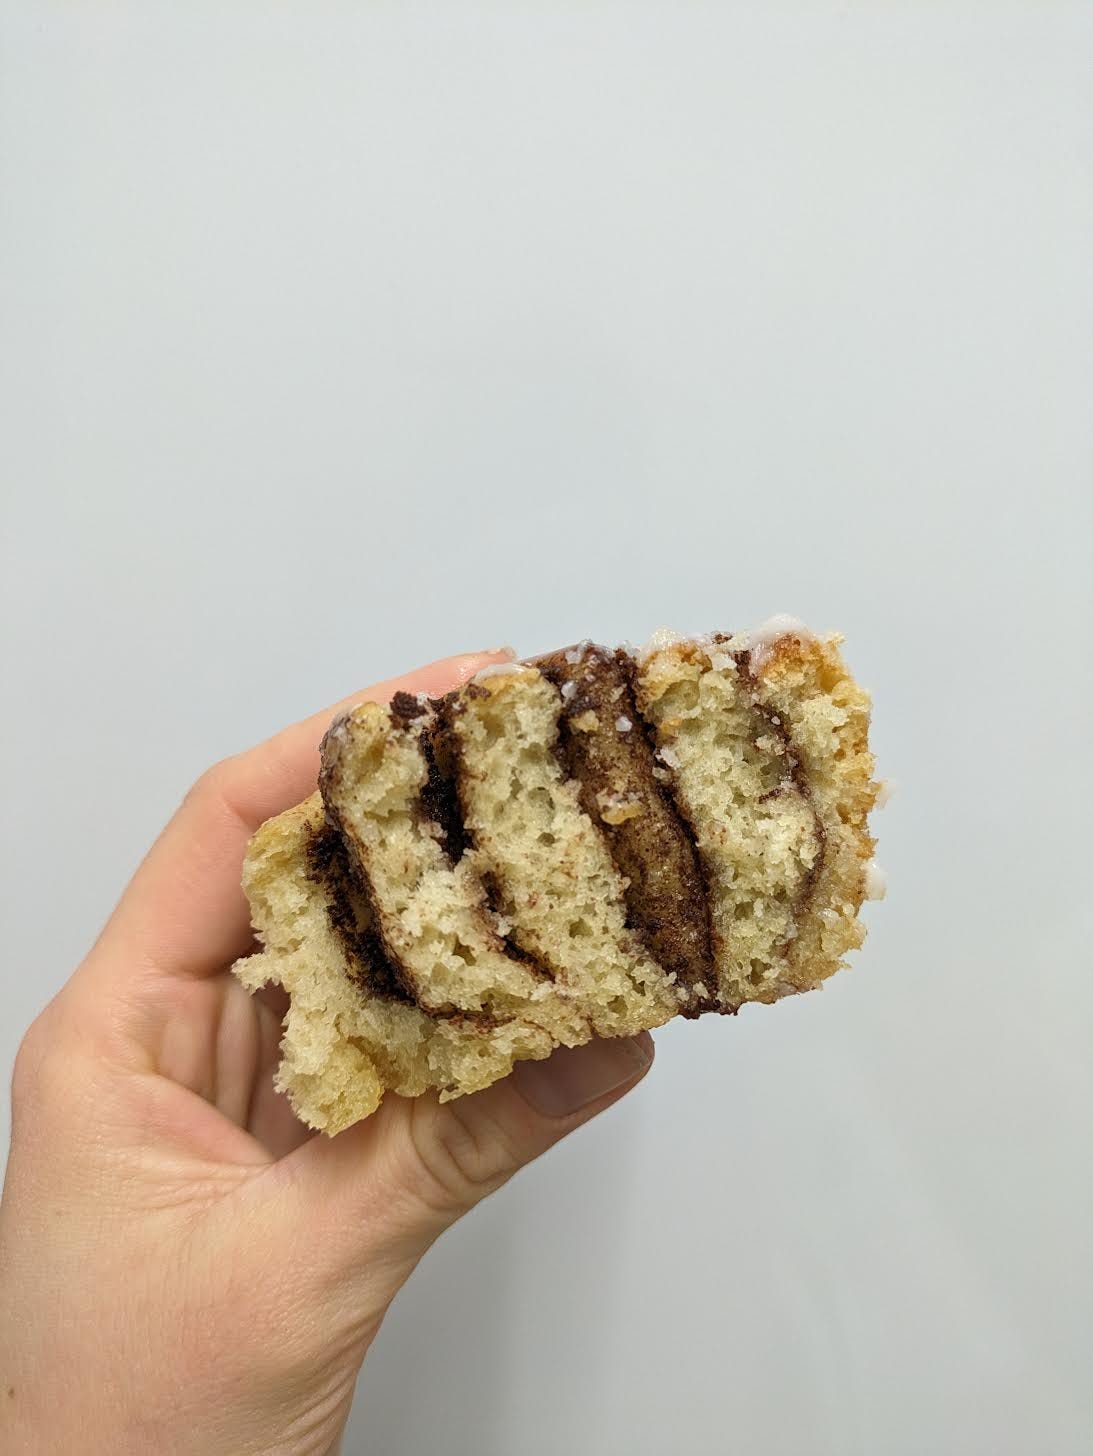
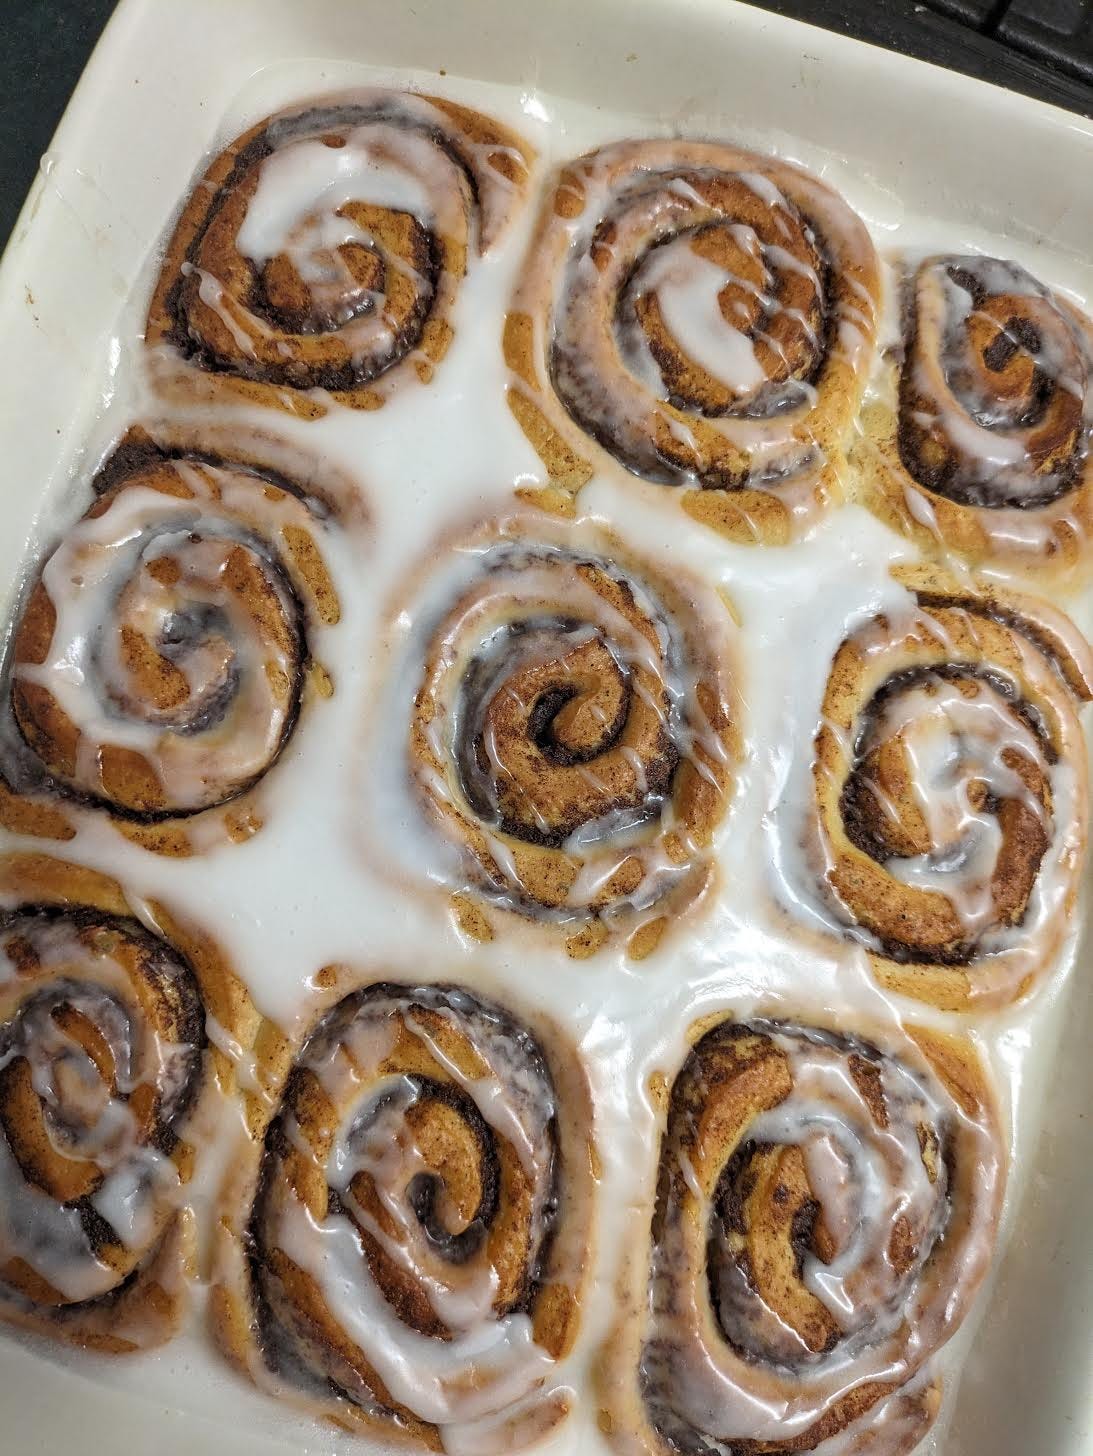
A bake that is rolled or shaped (e.g. cinnamon buns or brioche rolls)
Bakers may also want to develop some decorating skills such as piping, though more intricate decorating is usually reserved for those who want to specialise in celebration cakes, cupcakes and iced biscuits. Pastry chefs tend to focus on desserts, sugar work and chocolate, but these areas are not ‘off-limits’ to you as a baker. In my experience, if it sparks your interest or you are presented with the opportunity to learn something new, it can’t hurt to have it under your belt. During my time working in the pastry section, I learnt an array of things I wouldn’t have if I had just stuck solely to baking. What you choose to hone in on is entirely up to you and will allow you to develop a unique set of skills. In the beginning, I recommend trying a bit of everything, but if you aren’t getting on with bread and you thrive making cakes, then run with that! It really depends on your personal goals; the Toolkit is just here to set you up with a good baseline.
In this series, I will be delving into each ‘Tool’, attempting recipes and reporting my results back to you with any discoveries or tips and tricks I learn along the way. Disclaimer, I am far from an expert! I have worked professionally in the industry for some time now but I’m constantly learning new things (and making mistakes), and after jumping ahead, I’m keen to take things back to basics and refine my skills. Some areas I have explored more than others but some still intimidate me (or catch me out - lemon tart, I’m looking at you). I’d love for you to join me on my journey to becoming an all-rounder, whether you’re just starting out or you’re an avid home-baker! The beauty of the Baker’s Toolkit is that it can be moulded to all levels; Already nailed a pie crust? Let’s do a latticed top! Recipes can be upgraded to incorporate more advanced and interesting flavour pairings or techniques. In the words of my old head pastry chef, “we are never done”. And of course, if anyone’s out here reading this and thinking there’s something I’ve missed, I’m all ears!
For those who are fresh to the tent, there are some fundamentals every baker should know. Bakers must understand the science behind their baked goods and how ingredients work with each other. Getting the right ratios is crucial, and a skill you will learn as you become more familiar with the role each ingredient has. Bakers may also have to scale recipes up or down depending on the quantity needed, so they’ll need to know baking math. Sometimes you will have to wing it, with varying results - but it’s all part of the process! As you become more confident, you will be able to follow a recipe more loosely and make adjustments knowing that the outcome will be a positive one. There’s a lot to it and it can be a little overwhelming, but it does get easier. Here are some tips to get you started:
Mise En Place - One of the first terms I learnt in the kitchen was “mise en place”, a French term that means “everything in its place”. Each day we would write an ‘MEP’ list on the whiteboard (basically a list of all the prep we needed to do). The concept of mise en place is to have everything ready to go when it’s time to cook, bake, or for the start of service. In the industry, time is often of the essence; smart bakers and chefs begin with this step so that they’re not wasting time chopping, measuring, or hunting for an ingredient once they’re in the process. Start by reading through the recipe carefully, and gather all the equipment and ingredients you will need. Take anything out of the fridge that needs to be at ‘room temperature’, you may need to do this an hour or so before you intend to bake, or overnight. Measure all your ingredients before you start and put them in separate bowls so you can grab them when you need them. Wash and chop any savoury ingredients you will need, same with nuts or chocolate.
By having all your prep ready to go and your workspace organised, you can focus on the recipe at hand and make sure any time-sensitive steps are carried out properly. Some recipes will require you to stir continuously or bring a mix to a certain temperature, in which case you need to stay at your workstation and have the right utensils close by. This also prevents you from forgetting any ingredients and promotes a smoother baking process.
Measuring and Converting Recipes - People are often surprised that baking includes a decent amount of math and science. Often when you read through a recipe and check what ingredients you need, you will have to stop to translate measurements. Bakers will often convert from volumes such as spoons and cups, into weights such as grams. I come across this a lot with recipes that people have posted online; luckily we are in the day and age now where it’s really easy to convert measurements on Google without having to do a lot of work, but you should use a reliable website. Also, be wary that the weight of a liquid may be different in a cup than a dry ingredient - don’t just put “What is a cup in grams?”.
Proper measuring is vital and people usually prefer to work in grams because it’s considered more accurate - bakers consider it faster and also more simple because you deal with round numbers as opposed to halves, quarters and thirds. Always use a digital scale for precision and don’t forget to ‘Tare’ your scale back to zero before weighing your next ingredient. If you are measuring by volume, spoon your flour and sugars into a measuring cup rather than scooping them out with a cup, then level it out with a butter knife; many recipes will call for “packed sugar”. When doubling a recipe or scaling up, check your math - you may need to reduce the amount of leavening ingredients. Also, remember to adjust the baking time!
Be Mindful of ‘Carry-over Cooking’ - whatever you are baking will continue to bake once it comes out of the oven due to residual heat coming from the pan/tin. If it’s done in the oven then it will potentially be overdone on the plate. Cakes should be cooked just until a butter knife comes out clean; remove the tin as soon as it feels cool enough and then leave the sponge to continue cooling on a wire rack so that the heat can escape quicker. Custard tarts carry on setting after cooking so be sure to turn the oven off a little earlier when it still has a slight wobble.